88""Yb 888888    db    8888b.  Yb  dP   888888  dP"Yb    888888 888888 .dP"Y8 888888
88__dP 88__     dPYb    8I  Yb  YbdP      88   dP   Yb     88   88__   `Ybo."   88
88"Yb  88""    dP__Yb   8I  dY   8P       88   Yb   dP     88   88""   o.`Y8b   88
88  Yb 888888 dP""""Yb 8888Y"   dP        88    YbodP      88   888888 8bodP'   88
Software QA and Support ★ Automation ★ Manual Testing
Current Date & Time (Pacific) ★


------------------------------------------------------------------------
Water Well Lid Project 🚰 (Photos at bottom)
index.htm ⮐
Intro
You might be wondering what a well lid project is doing on a tech-focused
site. Most of the problems I solve on this site are digital, so I wanted
to show some real-life analog problem-solving. It reflects my approach
to learning and overcoming challenges. I'm not a handyman or a developer,
but whether it's building a well lid or learning automation, I tackle challenges
the same way, by rolling up my sleeves, researching, experimenting, and
improving as I go. It's about diving in, being resourceful, self-sufficient,
and learning by doing.
Details
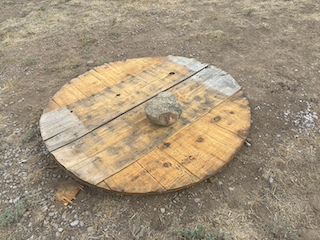
The original well lid was unfinished plywood, poorly built by someone else
before me. It was warped, the plies were delaminating, and it was just set
on top of the culvert with some 2x4's underneath to keep it from falling off.
Not the best setup. I put a large rock on top of it as a temporary stopgap
to prevent it from blowing off in high winds until I could figure out
something more permanent.
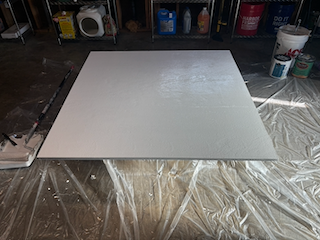
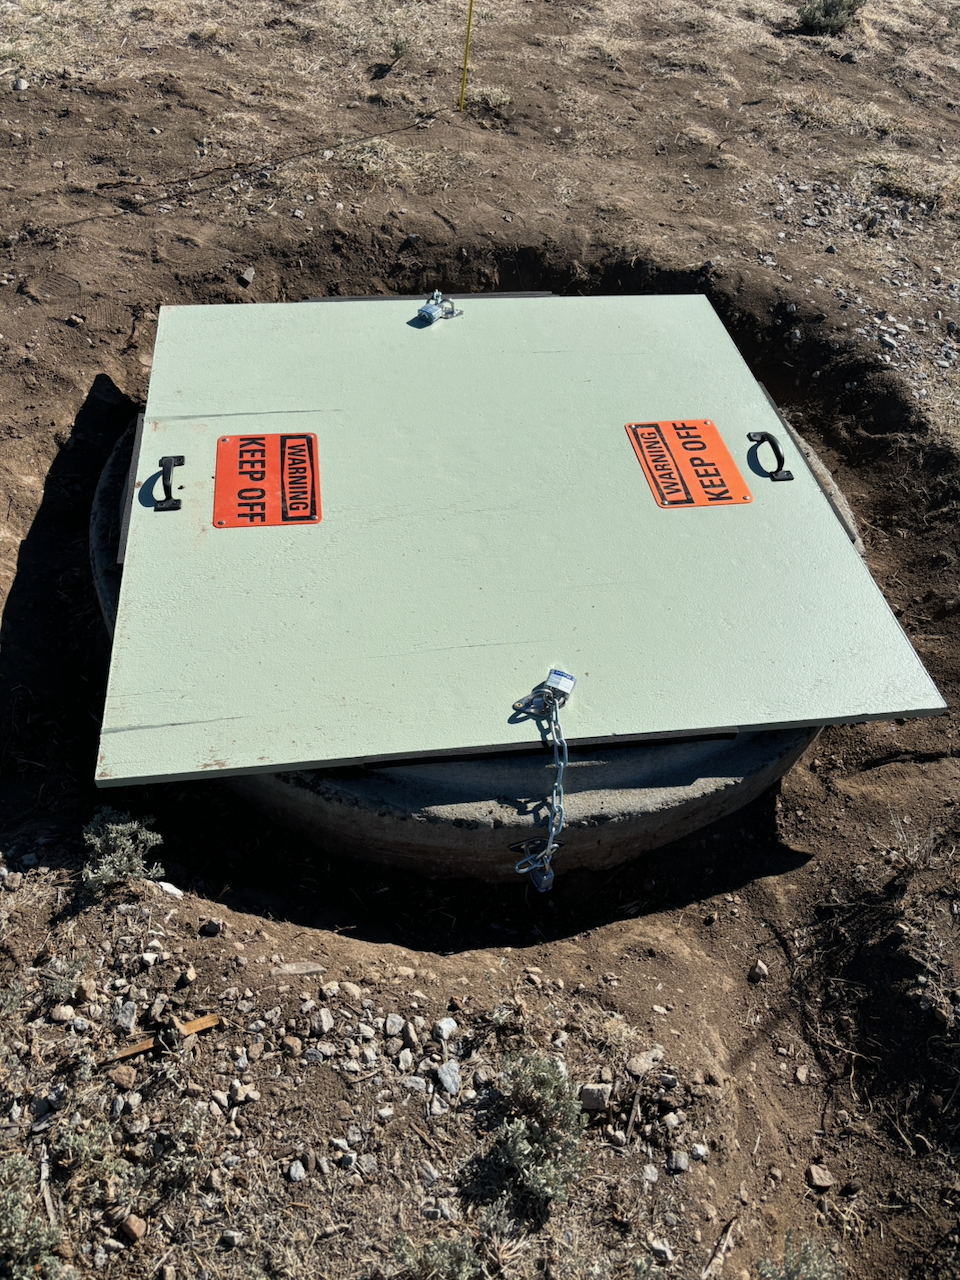
I wanted to make sure the new lid was functional, sturdy, and properly
finished. So, I used 4'x4' square BCX plywood for the lid, giving it
three coats of exterior primer and three coats of exterior paint for
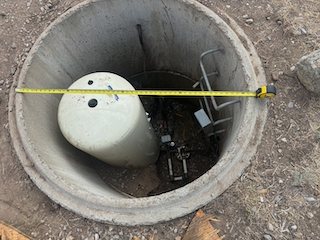
durability. Beneath the lid, I cut a circular piece of XPS foam board
to fit inside the culvert opening. This served two purposes: keeping
the lid from shifting off and adding insulation. Note: Use PL300
adhesive. It won't melt the foam board like standard adhesive. There
were some 1/4" to 1/2" gaps on two sides, so instead of starting over,
I added some 3/4" rubber foam weatherstrip tape to seal those edges.
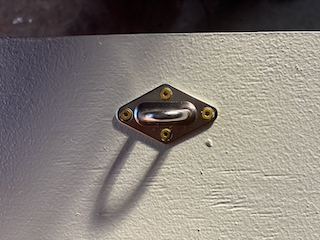
To secure the lid, I used a 2/0 zinc coated chain and padlocks, making
sure everything was locked in place. Instead of buying padlock hasps
with eyes, I went with shade sail eyes for the anchor points. Drilling
holes in the concrete culvert to secure the eyes, I used masonry bits
and concrete screws. It was doable with a regular drill, but if you're
planning on doing this yourself, trust me, a hammer drill or rotary
hammer makes it go a lot faster.
I also dug a small trench around the well's circumference to make sure
water could flow away from the opening since before, the culvert was at
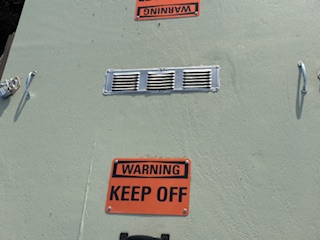
ground level. For added safety, I attached black carrying handles,
reflective warning signs, and marked the perimeter with four driveway
snow stakes. The entire process, while challenging, gave me the
satisfaction of having built something that not only works but is designed
to last.
New Iteration: Ventilation Upgrade
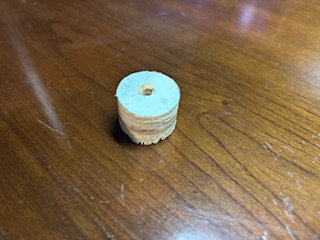
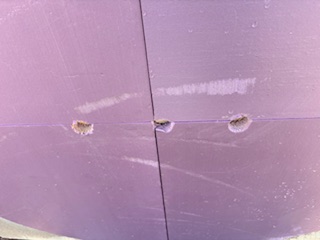
After some rain and snow, I found condensation under the lid and needed
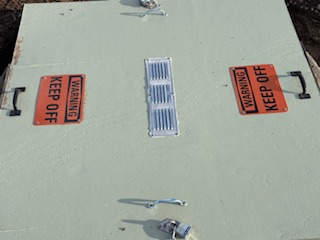
airflow. I drilled three holes with a 1 1/4" hole saw, covered them with
a 16" x 4" aluminum grille, and sealed the edges with silicone. A screen
behind the grille keeps out yellow jackets, and the holes should be small
enough to release moisture without letting in too much water or cold air.
I also added extra handles. I'll inspect it periodically to see if it works
or needs adjusting.
Photos



------------------------------------------------------------------------
Top ⇧


